This is a demo store. No orders will be fulfilled.
Arezue Wright- Bankside Photography Made Easy

We have all had a bad photo day, whether that be your head cut off the frame of the picture, parts of the fish are missed out or the camera flash has left the image overexposed or out of focus. Some of us experience a capture with a cluttered background or are even photobombed by fellow anglers!
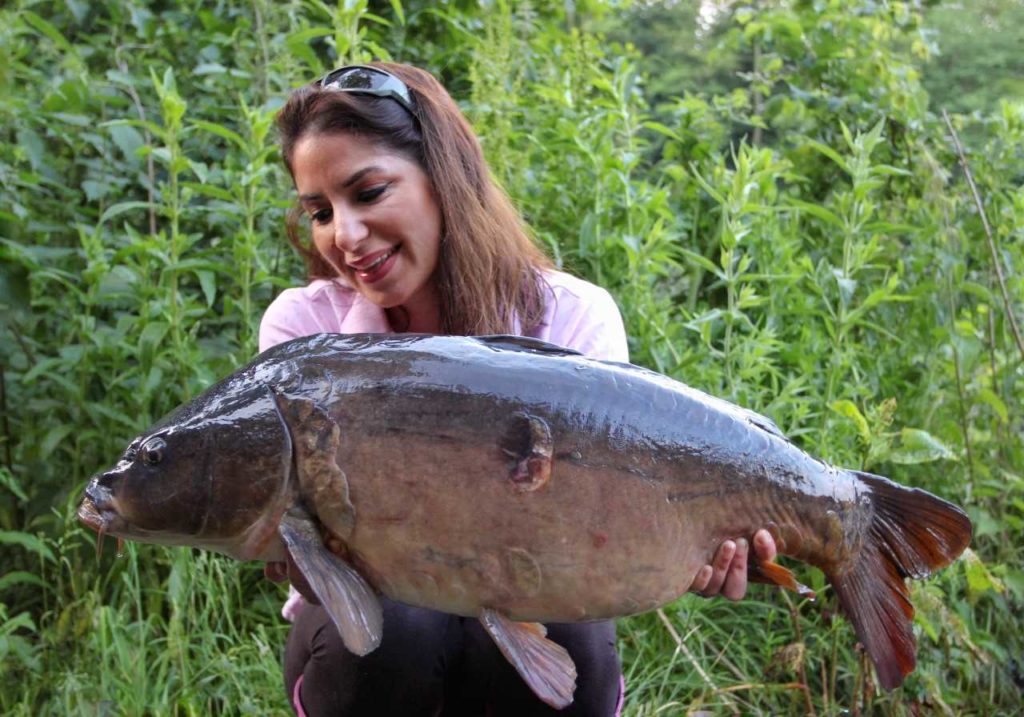
However, if you spend a little time and attempt to plan and prepare prior to that pressing moment of having the fish out of water for as little time as possible then that shutter button will be pressed confidently knowing you will be snapping like a professional. Capturing fish, moments and achievements that all your friends will be envious of. Your photo of the ‘one that didn’t get away ’ might end up hung up on your wall or even in a glossy magazine!
So, here are a few simple steps that help achieve a high-quality image of your next impressive catch.
First things first, make sure you prioritise looking after your fish. Never ever sacrifice the welfare of the fish for a photo as fish safety is paramount to good angling practice. If the fish is showing any signs of distress return it immediately!
To make sure the fish is on the surface of the bank for as short of time as possible, plan and prepare prior to the landing a fish. Do not leave it until the last minute with you haul the fish up onto the hooking mat before you start getting your photography equipment ready.
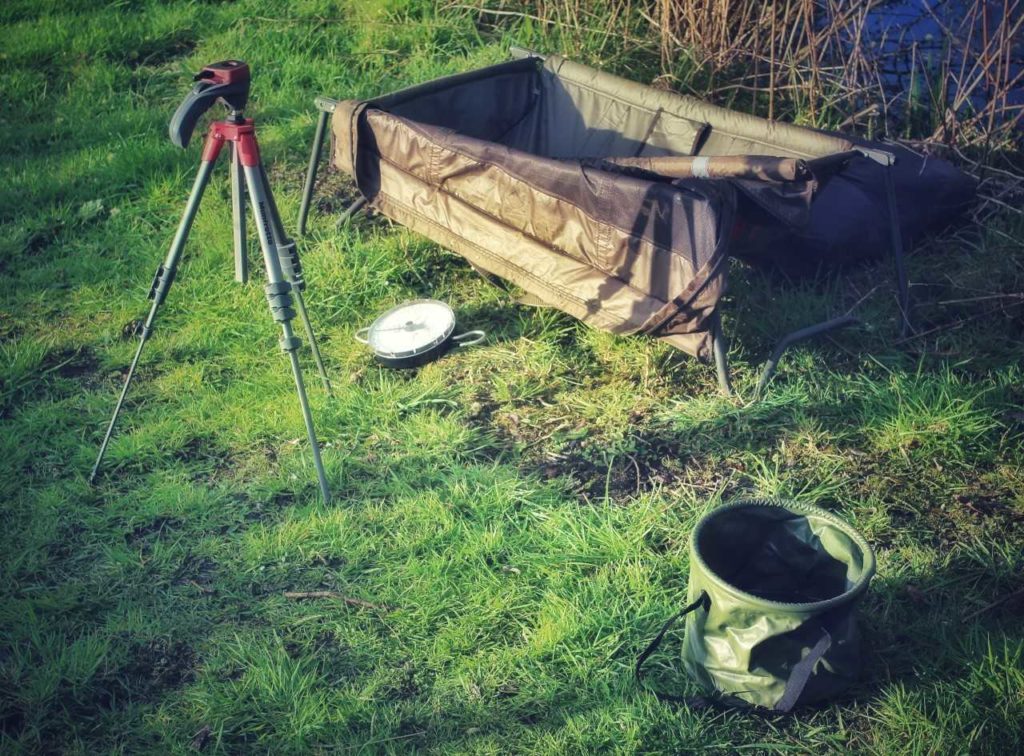
As we already mentioned, fish welfare comes first, so get your unhooking mat into position, your scales poised and ready, along with a set of forceps. Any additional fish care product that should be required such as weigh slings and that important large bucket of fresh lake water is ideal. Keeping water near to sprinkle of the fish is especially essential during the summer months when that sun is beating down on the carp. It is worth noting that you should never place a fish on a dry or hot mat and the water in the bucket should always be straight from the lake.

Next step is to set up the perfect framing for your shot and test the shooting prior to capturing the fish. With your unhooking mat in place, this can even be before getting your fish out of the water. Make sure that you have a background that compliments your catch, not one that is cluttered with tackle, rubbish or other obstructions. Consider placing your mat where you're not going to have tree branches to disrupt lighting or a spod rod cutting through the whole shot.
If you are going to be photographing the fish yourself using a self-take facility, like a tripod, make sure you position yourself at that same level or near to the fish as the camera set. It is not ideal to have a shot looking down or from below as this can lead to distortion and effect to be the true perspective of yourself and the fish.
It is good practice to take a couple of test shots to test anglers, focus, and background so you can tweak it prior to having the fish out of the water. When you are finally ready and happy that the shot will come out well, then you can take the fish out of the retaining net.
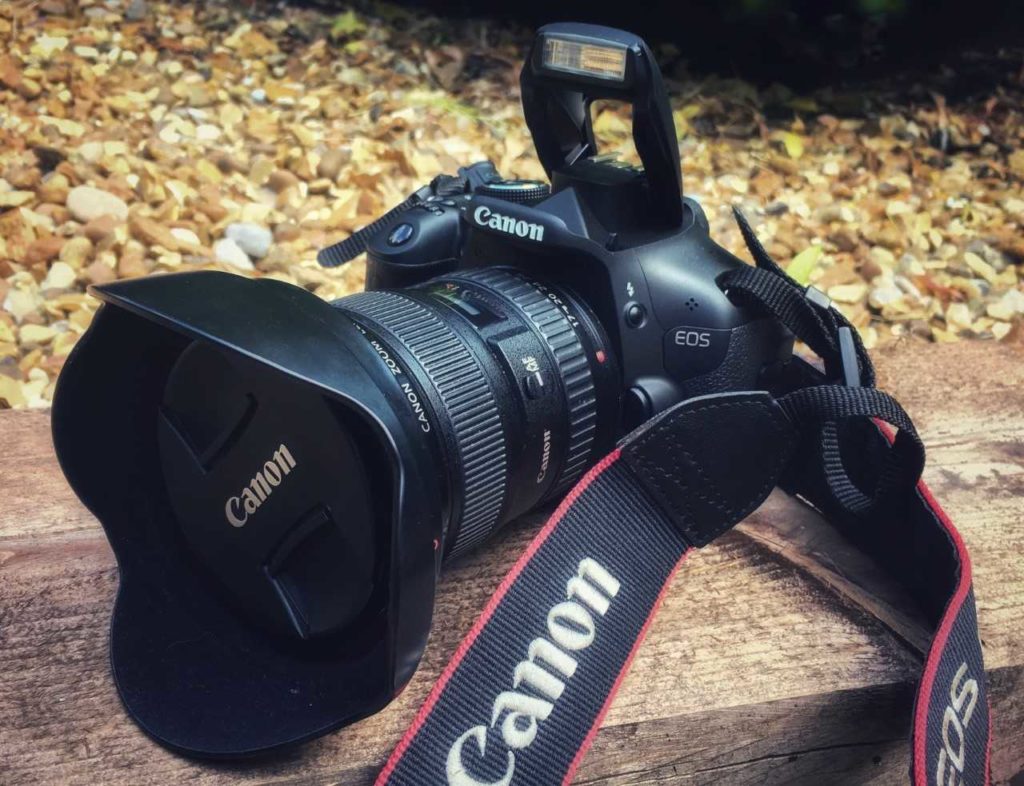
For those of you that fish alone, self-take photography is the only option however getting it right can at times prove to be tricky. With selfies there is an extra responsibility of ensuring everything is correct both in front of the camera and behind it. Whether you choose to take a photo on a mobile phone, compact camera or DSLR there are a number of ways we can do this.

Compact cameras and DSLR’s, some prefer an air release cable which works on the principle that an inflated balloon attachment is pressured usually by a knee or foot, forcing air along the cable which In turn subsequently activates the shutter. Or you may prefer a battery operated remote.
It is a personal preference to use an Intervalometer which is an attachment to a camera that operates the shutter regularly at set intervals over a period of time. Using an intervalometer is the easiest and most versatile option as it eliminates the need to keep getting up and constantly resetting the camera.
For social anglers, the mates you have behind the camera are also responsible for taking a good shot. You should not expect everyone to have the same ability behind the lens and ensure that if others are tasked with taking the shot for you that they are competent in using your camera and it’s basic functions, especially if this is a phone or a compact camera. Get your photographer for the session to take some practice shots so you are able to trust them and concentrate on the handling of the fish.
It is always worth double checking the shots whether it’s a selfie or you have been captured by a friend before you let the fish back into the waters. Make sure you are happy with the imaged because once you release your prize, it's gone!
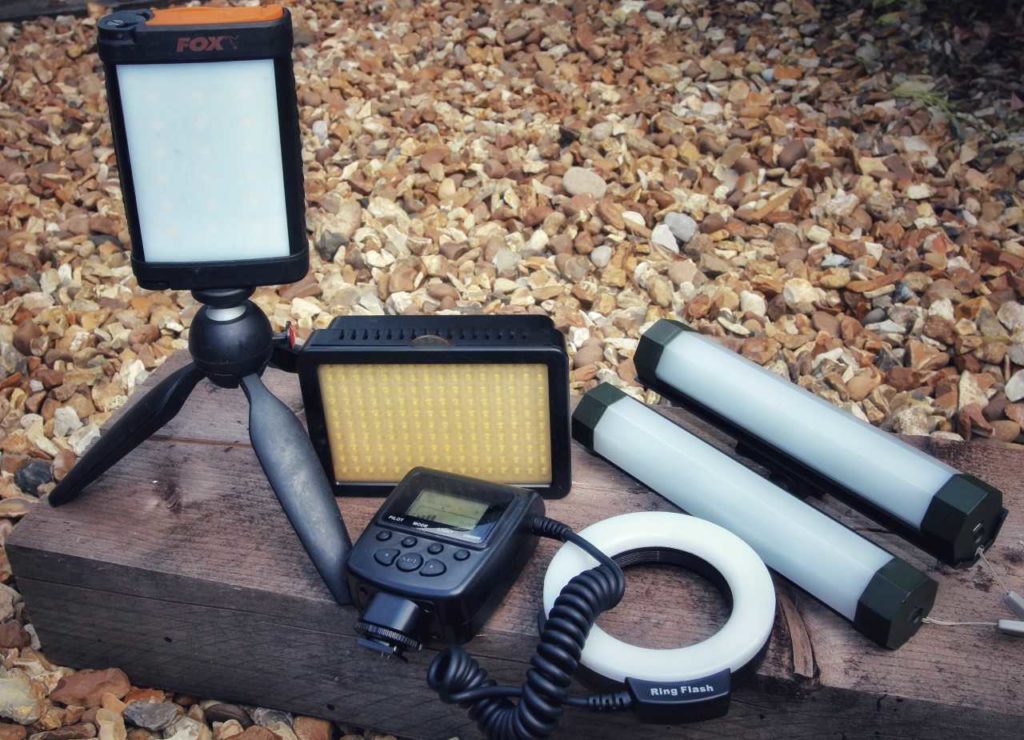
Some other considerations when taking some test shots is the lighting. This is more than just leaving your flash on when there is daylight, but where the sun is and how this might cause glare in the camera lens. Aiming to have the sun slightly behind you or to one side is perfect. Flash can use used at night or eliminate shadows on brighter days.
It is not always possible to achieve every desired shot or aspect using just one lens. Most cameras are packaged with generic or multi-purpose lenses but many anglers using more complex camera units like SLRS, DSLR’s and mirrorless cameras as they allow for a variation in shots.
It is a good idea to make sure all your electrical kits like cameras are powered up to be capable of capturing your catch digitally. Whether you invest in a power bank or keep stocked up on spare batteries, it will save you from a dead camera battery and missing out photographing a trophy fish.
After all these preparations you can snap away and before you know it you’ll be shooting like a pro!
